Online:Dragonstar Arena
|
||||
|---|---|---|---|---|
| Discoverable | Yes | |||
| Completion | None | |||
| Zone | ||||
| Upper Craglorn, Craglorn | ||||
| Location | ||||
| North of Dragonstar | ||||
| Crafting Stations | ||||
|
||||
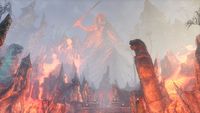
| Loading Screen | ||||
|
Only the strongest and bravest warriors dare to face the challenges of the Dragonstar Arena.
|
||||
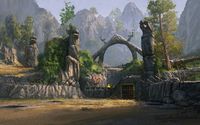
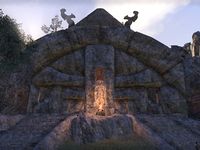
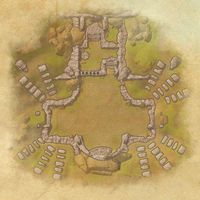
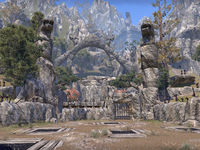
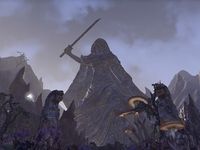
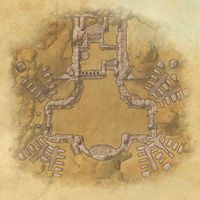
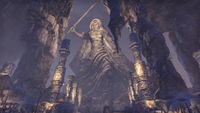
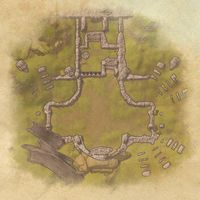
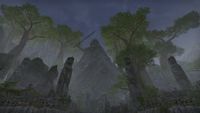
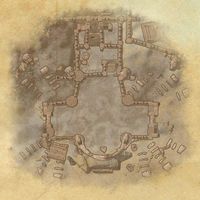
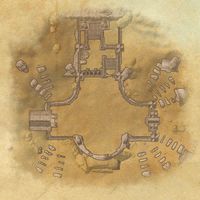
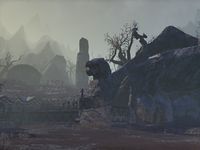
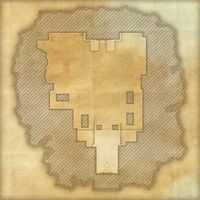
The Dragonstar Arena is a group-based arena in Upper Craglorn.
It is similar to the Trials in Craglorn, but is aimed at groups of four players rather than twelve. It comprises numerous waves of enemies across ten arena environments, and has both a Normal and Veteran mode. Veteran runs are recorded on a leaderboard system.
You cannot respawn at the wayshrine until your entire team has been defeated, making soul gems a necessity for mid-fight resurrecting. A scamp named Kizna offers basic services in between rounds. Fighting in the arena grants access to loot chests after every round, which can contain items from several unique, powerful sets.
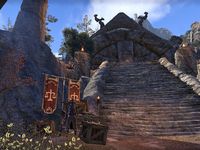
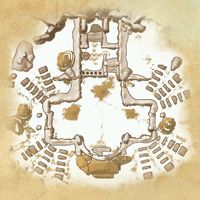
A Swarming Wasp's nest is located along the road leading up to the Dragonstar Arena. The Snatch and Grab is at the base of the stairs leading up the hill to where the gladiator teams' camps are set up. Arena Enforcers patrol the Arena's exterior. The Inscrutable Enigma is beside a tent and a campfire all by her lonesome on the ledge to the right of the ruins leading into the Arena proper.
A group of Legion soldiers called the Diamond's Daughters is camped out west of the entrance. Dorzogg's Dozen is set up west of the Diamond's Daughters. The Ballad of Dorzogg the Gutter-King can be found on a cart next to the eponymous Orc. The Blood-Feathers are camped out on the west side of the lower hill, south of Dorzogg's Dozen. Blood-Feathers Battle Slogans can be found on a cot under one of their small brown tents. The Blood-Feathers have a cooking fire in their camp.
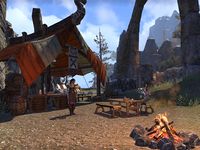
The Five Claws' camp lies east of the Diamond's Daughters, on the other side of the stairs. A list of potential battle cries can be found next to a backpack by the campfire. There is a cooking fire across from the Five Claws' camp, to the north. The Stone-Fish have a camp further east of the Five Claws. There is a cooking fire south of the Stone-Fish camp. The Lost Swords have a camp south of the Stone-Fish, a little ways down the hill. Pit-Fighter's Fare lies west of the Lost Swords' camp. There is a cooking fire beneath the store's tent. A pamphlet lies atop a crate next to the cooking fire. A chest can spawn next to the keg.
Related Quests[edit]
- A Breach Beyond the Crags
 : Seal the time breaches which have opened throughout Upper and Lower Craglorn.
People[edit]
Services[edit]
- Kazbur the Wanderer

- Kizna

- Pit-Fighter's Fare — A mobile kitchen run by Logdotha, located in a camp near Dragonstar Arena.

- The Snatch and Grab — A general goods stall run by Crooked Cadsu, located near the steps leading to Dragonstar Arena.

Walkthrough[edit]
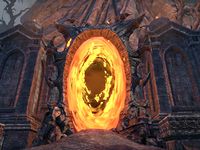
Dragonstar Arena has both a Normal and a Veteran Mode, which can be accessed by changing your group settings before entering the ruins. Unlike group dungeons, the veteran version has new aside from mob difficulty.
Once inside, Hiath the Battlemaster will provide rudimentary instructions. Speak with Milia the Gatekeeper to begin the first round. After each round, you will be given access to the merchant Kizna, a Chest of Champions, and a portal to the next round. Hiath will commentate the rounds, occasionally interspersed with the voice of his master, the Daedric Prince Boethiah.
Round 1: Dragonstar Arena[edit]
The first round is relatively easy. You will be pitted against Fighters Guild enemies, two of which make use of the related skill line. The arena is covered in spike traps, although they are easily avoided and can be used to your advantage. This round has many healers, who can become a problem if you don't take them out quickly. The final boss is Champion Marcauld. There is one enemy of note: Fighters Guild Gladiators. They can set down a Ring of Preservation, which give damage reduction in Normal mode and massively heals any and all who stand upon it in Veteran Mode. Enemies and players alike will be healed by standing in this rune. The tank needs to pull the boss, Champion Marcauld, out of these runes if he stands in one.
- Hazard
|
- Enemies
Round 2: The Frozen Ring[edit]
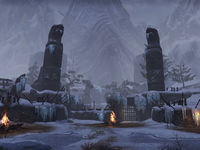
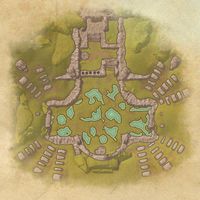
In this round you will be fighting Sovngarde Nord enemies, along with trolls, bears and ice wraiths. The arena contains three large fires, which you will need to fight beside and keep lit to avoid taking periodic damage from the icy conditions after wave 1. In Normal mode there are no torches as the large fires do not go out. The bosses are Yavni Frost-Skin and Katti Ice-Turner.
- Hazard
|
- Enemies
Round 3: The Marsh[edit]
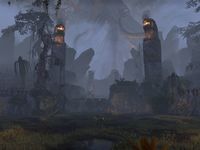
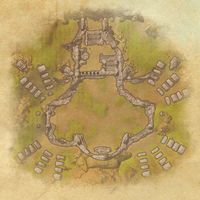
In this round you will fight against Dragonclaw Reachmen, along with stranglers, wamasu, nereids and corprus husks. Poisonous clouds will randomly spawn in the arena, and will deal massive damage if you touch them. The bosses are Nak'tah and Shilia.
- Hazard
|
- Enemies
Round 4: The Slave Pit[edit]
In this round you face Dunmer enemies from House Dres, as well as kwama, netches and kagouti. Suitably, the arena is reminiscent of Morrowind. The Dres Enslavers have a special attack that attaches a blue chain to one of your group members, creating an Enslaved Shadow in Veteran Mode if that attack fully finishes. The boss is the Earthen Heart Knight, who makes use of the Earthen Heart skill line.
- Enemies
Round 5: The Celestial Ring[edit]
This arena is modeled after Lower Craglorn. You will be facing off against the Anka-Ra warriors and enemy gargoyles in a sandy arena covered in constellation stones. The Anka-Ra Shadowcasters have an ability to mark a player for death via "Celestial Blast", which can only be prevented by rushing to the highlighted constellation and standing there until the effect wears off after 10 seconds. The damage is Oblivion Damage and thus bypass Damage Shields. Do not stack on the same platform, one highlighted platform will protect one player only. One Shadowcaster spawn on wave 2, one on wave 3 and one directly spawns with boss, others will spawn after some time, one at a time. The boss of this round is Anal'a Tu'wha.
- Enemies
Round 6: The Grove[edit]
In this round you will fight against Pacthunter Bosmer, along with werewolves, spriggans and lurchers. Aside from the Bosmer, every enemy will leave behind a green AoE upon death, which converts health into magicka and stamina when you stand in it. Although dangerous, this can be useful, as the archer enemies directly damage your magicka. The werewolves can heal by feeding on corpses. The boss is Pishna Longshot.
- Hazard
|
- Enemies
Round 7: The Circle of Rituals[edit]
This round seemingly takes place in Oblivion, with a backdrop of Daedric ruins and lava. You will be fighting against Bloodwraith Dremora, banekin, daedroths, clannfear and spider daedra. The arena contains three altars, which Daedric Sacrifices will slowly walk towards constantly. If you don't kill them in time, these prisoners will be transformed into "Sacrificial Summons", which can either be a Scamp, a Harvester or a Daedric Titan. Note that the sacrifices continue appearing even if your group isn't in combat, creating an unkillable stack of Titans that can only be cleared by dying. The bosses are the Shadow Knight and the Dark Mage. The mage can fully heal herself if not interrupted, and the knight can use Nova.
- Enemies
Round 8: The Steamworks[edit]
This round has a Dwemer style, and you will be fighting against Dwarven Automatons and enslaved mages. The Ice Centurions that spawn need to be taken down quickly, as they can freeze you in place or surround you with a slowing AoE. The Fire Centurions perform a powerful spinning AoE, which will need to be tanked or kited. The boss is Mavus Talnarith, who makes use of Mages Guild skills.
- Enemies
Round 9: Crypts of the Lost[edit]
This round takes place in a graveyard, and you will be faced with undead enemies. These include Graveoath skeletons, ghosts and wraiths. The arena is dotted with "holes" in the ground, where skeletons will pull you down and force you to fight your way to a portal back to the arena, although they can easily be avoided. The boss is Vampire Lord Thisa, who can make use of the Vampirism skill tree. Her Devouring Swarm ability can quickly kill your group, so its advisable to have the tank taunt her away until the attack ends.
- Hazard
|
- Enemies
|
Round 10: The Champion's Arena[edit]
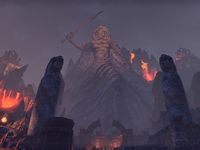
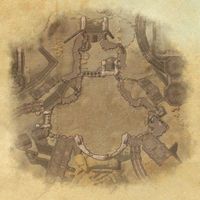
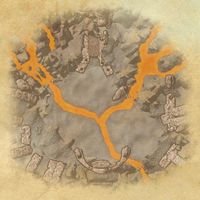
The final round takes place in Boethiah's realm of Oblivion. Unlike the previous rounds, it is a single, prolonged boss fight with no checkpoints or waves of enemies. You will be fighting Boethiah's Champion, Hiath the Battlemaster. He will periodically surround everyone with a powerful fiery AoE, which will follow you for a few seconds before dropping on the ground and remaining in place for a long time, creating additional hazards. The arena is divided into three islands separated by streams of lava, so it will become necessary to rotate islands once the fire builds up too much. The healer of the group will need to make sure that your team mates stay close enough to be healed, but not so close as to overlap AoE effects and start stacking damage.
As Hiath's health decreases, he will begin to summon bosses from previous rounds. He will summon a warrior and a mage each time; the mage should be prioritized due to their lower health and powerful attacks. At 75% health, he will summon Champion Marcauld and Mavus Talnarith, the two guild bosses. At 45%, he will summon Yavni Frost-Skin and the Dark Mage. Only in Normal mode at 25%, he will summon the Earthen Heart Knight and Pishna Longshot. Focus on the additional bosses before resuming your attacks on Hiath. The tank will need to occupy Hiath and possibly the warrior enemy while other members deal damage.
A more recent strategy in Veteran Mode is having the tank taunt Hiath where he spawns while the rest of the group wait at entrance. When the tank has spawned a Summoned Flames, he will regroup to entrance with the boss and keep Hiath taunted until he reaches 80%-75%. When the first champions have spawned, the tank has to drop Hiath's taunt and taunt the two champions far away from the group, a group member has to taunt Hiath themselves. Hiath alone isn't strong, the real threat is the amount of enemies. The tank has to taunt the champions that spawn afterwards and keep them far away from the group as well. The group just has to kill Hiath as fast as possible.
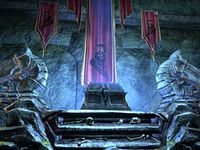
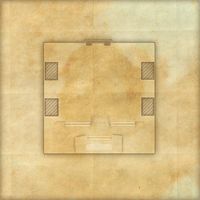
Once you've defeated Hiath, Boethiah will create four pillars of light and lift you into the sky, and you will earn the Dragonstar Arena Champion achievement if this is your first time. Your group will be returned to a special room in Dragonstar Arena, containing a chest called Champion's Treasure and a book titled Boethiah's Call of Champions. Exit the room to be returned to Craglorn.
- Hazard
|
- Enemies
|
Sets[edit]
The following sets' armor pieces can be found in the reward chest at the end of each Dragonstar Arena round:
| Set Name | Bonuses | Armor Weight |
|---|---|---|
| Healer's Habit |
2 items: Adds 25-1096 Maximum Magicka |
Light Armor |
| Robes of Destruction Mastery |
2 items: Adds 25-1096 Maximum Magicka |
Light Armor |
| Archer's Mind |
2 items: Adds 25-1096 Maximum Stamina |
Medium Armor |
| Footman's Fortune |
2 items: Adds 28-1206 Maximum Health |
Heavy Armor |
- Normal weapons only drop from the Champion's Treasure chest.
- Normal Master weapons only drop in Normal mode from the Champion's Treasure chest or when looting their Perfected version
- Perfected Master weapons only drop in Veteran Mode from the Champion's Treasure chest or can be awarded to players who successfully rank on the weekly Arena leaderboard.
| Set Name | Bonuses | Set Type |
|---|---|---|
| Caustic Arrow |
2 items: Increases your Weapon and Spell Damage by 7-330 against targets affected by your Poison Arrow. |
Weapon |
| Perfected Caustic Arrow |
2 perfected items: Adds 2-103 Weapon and Spell Damage |
Weapon |
| Destructive Impact |
2 items: Reduces the cost of Destructive Touch by 10% and increases your Weapon and Spell Damage by 13-600 for 4 seconds after activating it. |
Weapon |
| Perfected Destructive Impact |
2 perfected items: Adds 2-103 Weapon and Spell Damage |
Weapon |
| Grand Rejuvenation |
2 items: The initial heal of Grand Healing invigorates you and group members affected for 6 seconds, restoring 5-224 Magicka and Stamina every 2 seconds. |
Weapon |
| Perfected Grand Rejuvenation |
2 perfected items: Adds 20-877 Maximum Magicka |
Weapon |
| Puncturing Remedy |
2 items: When you deal damage with Puncture, you heal for 2230 Health and gain Spell and Physical Resistance equal to the amount of healing or over healing done for 5 seconds. The healing scales off your Max Health. |
Weapon |
| Perfected Puncturing Remedy |
2 perfected items: Adds 3% Healing Taken |
Weapon |
| Stinging Slashes |
2 items: Twin Slashes deals 209 more damage for each hit of the initial attack and bleed. This effect scales off the higher of your Weapon and Spell Damage. |
Weapon |
| Perfected Stinging Slashes |
2 perfected items: Adds 12-526 Critical Chance |
Weapon |
| Titanic Cleave |
2 items: Increases the direct damage Cleave deals by 36-1550 for each enemy in its cone. |
Weapon |
| Perfected Titanic Cleave |
2 perfected items: Adds 27-1190 Offensive Penetration |
Weapon |
Books[edit]
Achievements[edit]
There are 2 Achievements associated with this location:
| Achievement | Points | Description | Reward | |
|---|---|---|---|---|
| Normal | ||||
| Dragonstar Arena Champion | 50 | Conquer all challengers and earn the title of Dragonstar Arena Champion! | Title: Dragonstar Arena Champion | |
| Veteran | ||||
| Dragonstar Arena Conqueror | 50 | Conquer all challengers on the increased difficulty version of Dragonstar Arena. | Title: Boethiah's Scythe |
|
System Mail[edit]
If you are on the Trials leaderboard for Veteran Dragonstar Arena at the end of the week, an adherent of Boethiah named Kalia will send you the mail containing your leaderboard rewards. In the author line, Kalia is labeled Kalia, Servant of Boethiah.
| Boethiah's Blessings |
|---|
|
Honored Champion, |
Notes[edit]
- As of Patch 2.5.8, Normal Dragonstar Arena can be accessed by non-Veteran characters as long as one member of the group is above level 50.[verification needed — Does this still apply in the present build?]
- Prior to Update 12, this location used a
 Ruins map marker and could not be fast traveled to. It was replaced by a
  Gate map marker that could be fast traveled to yet lacked a blue highlighting glow, before it was replaced by the group instance icon in Update 20.
 - A Dragonstar arena also appeared in Shadowkey, although it is evidently a different one.
- A similar challenge, called the Tournament of the Ten Bloods, is given by Boethia in TES IV: Oblivion.
