Skyrim:Puzzles
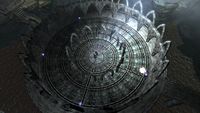
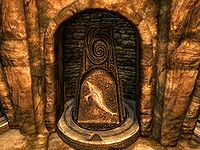
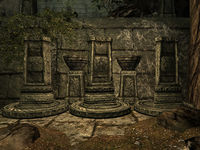
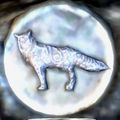
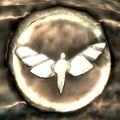
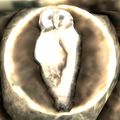
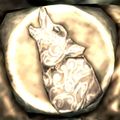
Puzzles are found in a variety of dungeons in Skyrim and Solstheim, most commonly Dwarven and Nordic ruins. Most puzzles require you to find the correct arrangement of totem symbols (bear, dragon, hawk, fox, moth, owl, snake, whale, and wolf) using nearby clues, riddles found in books, or carvings found on dragon claws. Others will require you to enter a correct sequence using buttons or kinetic resonators.
Contents
Puzzle Types[edit]
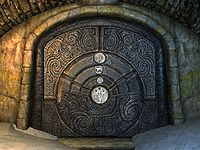
Dragon Claw Switch[edit]
|
Found in: Bleak Falls Barrow, Dead Men's Respite, Folgunthur, Forelhost, Korvanjund, Reachwater Rock, Shroud Hearth Barrow, Skuldafn, Vahlok's Tomb, Valthume, and Yngol Barrow |
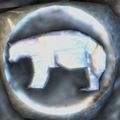
Three out of nine different totem symbols will appear on dragon claw puzzle doors: Bear, Dragon, Hawk, Fox, Moth, Owl, Snake, Whale, and Wolf. Each individual door is opened by a specific dragon claw, usually found in an earlier area in the same dungeon or given to you by an NPC. Some doors may be trapped, so be prepared to move out of the way in case you have solved the puzzle incorrectly.
| Bear | Dragon | Hawk | Fox | Moth | Owl | Snake | Whale | Wolf |
|---|---|---|---|---|---|---|---|---|
 |
 |
 |
 |
 |
 |
 |
 |
 |
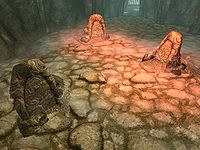
Glowing Stones[edit]
|
Found in: Ustengrav |
Timing your run past these stones can be tricky. You will likely need to sprint past the stones, then use Whirlwind Sprint to move under the portcullis. If you fail to pass under the portcullis gate before it slams shut, the puzzle will reset and you will have to try again.
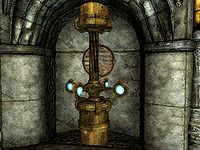
Kinetic ResonatorDG,DB[edit]
|
Found in: ArkngthamzDG and FahlbtharzDB |
Pay close attention to any clues you are given when solving tonal locks; activating the resonators in the wrong order may set off a trap or may cause one or more Dwarven automatons to attack. When the incorrect solution is entered, the puzzle will reset, allowing you to try again.
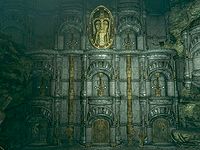
Sliding BraziersDG[edit]
|
Found in: Dimhollow CavernDG |
Found only in Dimhollow Cavern during the quest Awakening, this puzzle requires you to form a circuit of the purple flames on the floor. The puzzle is activated by pressing the button in the center of the large round platform. Once the flames have appeared, you can activate the braziers to push them along the track. There are no traps associated with this puzzle, so if you tried a movement that did not work, simply push the brazier to another position on the track until more of the purple flames appear on the track.
Spinning Symbol/Rune Totems[edit]
|
Found in: Karthspire (Akaviri variant), Nordic ruins, rare occurrences outside |
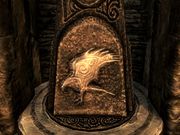
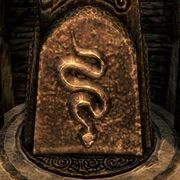
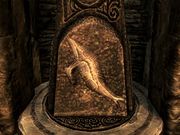
A very common sight in Nordic ruins, these pillars feature three totem symbols: Hawk, Snake, and Whale. It is usually easy to deduce which symbols must be showing on the pillars to complete the puzzle (there are often corresponding carvings on nearby walls or statues, or clues in a journal related to the dungeon). The pillars are typically set in alcoves and must be turned so the correct symbol faces outward. Some are located in more open areas, however, so if you are unsure which way the correct symbol must be facing on the pillar, check the base of the pillar for a triangular arrow and make sure the symbol you want is facing that arrow.
Pillar puzzles are often trapped; after you have attempted to solve the puzzle, look around the room for trap sources (such as holes for darts or spears) before activating the corresponding switch. If you have entered the wrong solution, avoid any traps that fire and try again.
| Hawk/Eagle Stone (see notes) | Snake Stone | Whale Stone |
|---|---|---|
 |
 |
 |
Notes[edit]
- The book Notes on Yngol Barrow refers to the bird symbol as Eagle rather than Hawk.
- The books Of Fjori and Holgeir and Notes on Yngol Barrow have clues to the deciphering of Stone Totem puzzles in certain locations.
Bugs[edit]
- The rings of the dragon claw switch may not rotate, or the door may not open after the correct combination is set. Possible fixes are:
- Save and then immediately load that save.
- Load either the auto-save from the entrance, or a save from before you entered.
- Exit the location, save, and load that save.
- "Reset" the door by selecting the right combination and try the claw, then turn each ring once and try the claw again. Do this until the correct combination re-appears and try again.
Type
tclinto the Console to clip through the door. Reenter the code once past. Note thatunlockwill not work.Clear the hard drive cache.
